I recently discovered an impressive capability: converting standard photographs into polished 3D cartoon renditions. The quality of results genuinely exceeded expectations.
Before diving into the process, let’s examine the practical applications.
Why 3D Cartoon Characters Matter
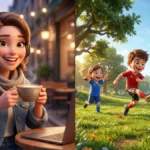
3D cartoon characters have become ubiquitous across digital platforms. Video games incorporate them extensively. Social media users adopt them for profiles. Brands leverage them for corporate identity. Even dating applications are testing cartoon avatar systems.
A well-executed 3D cartoon character offers distinct advantages over standard photography. It maintains recognizability while adding stylization and personality. The refined aesthetic and smooth textures create a comfortable digital identity that users readily embrace.
Google Gemini’s Image Capabilities
Google continuously refines their Gemini model. Recent updates include enhanced image generation capabilities through their advanced Imagen model.
The system performs effectively for photo editing and realistic image creation. More relevant to our purpose, it excels at producing stylized 3D cartoon interpretations of photographs.
The tool is freely accessible and requires no specialized software or technical expertise. If you can upload an image and input a text prompt, you possess the necessary skills.
How to Get Started
First, go to gemini.google.com. You’ll need to be logged into your Google account. If you don’t have one, you’ll need to create it.
Once you’re in, start a new chat. This is important because it keeps things organized and separate from your other conversations.
Now, here’s the key part. You need to make sure you’re using the right model. Look for the model selector and choose Gemini 3 Pro. This is the model that handles image generation the best right now.
Upload your photo. You can do this by clicking the attachment button or dragging and dropping your image into the chat.
Copy and paste this into your chat:
Create a 3D cartoon version of the person in the photo with soft lighting and clean edges. Keep the facial features accurate. Add smooth skin textures, and bright eyes. Use vibrant but balanced colors. Maintain the same hairstyle, clothing, and overall likeness. Show a full body character facing the camera with a natural posture. Give the style a polished animated look with gentle highlights and clean shading. Use a clean background with soft gradients for a neat finish.
Hit send and wait a moment. The AI will process your photo and create a 3D cartoon version.
Real Examples
Let me show you what this actually looks like in practice.
When I tried this with a photo of a woman, the result was impressive. Following is the photo I used as reference.

 How to Turn Your Photo into a Caricature Using Gemini
Following is the result.

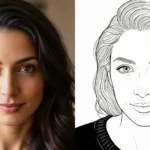 How to Turn Your Photo into Line Art Using Gemini
Her facial structure stayed the same but smoother. Her eyes were bright and expressive. The AI kept her long dark hair and clothing. The cartoon version looked like her, just in animation form. The background was a soft gradient.
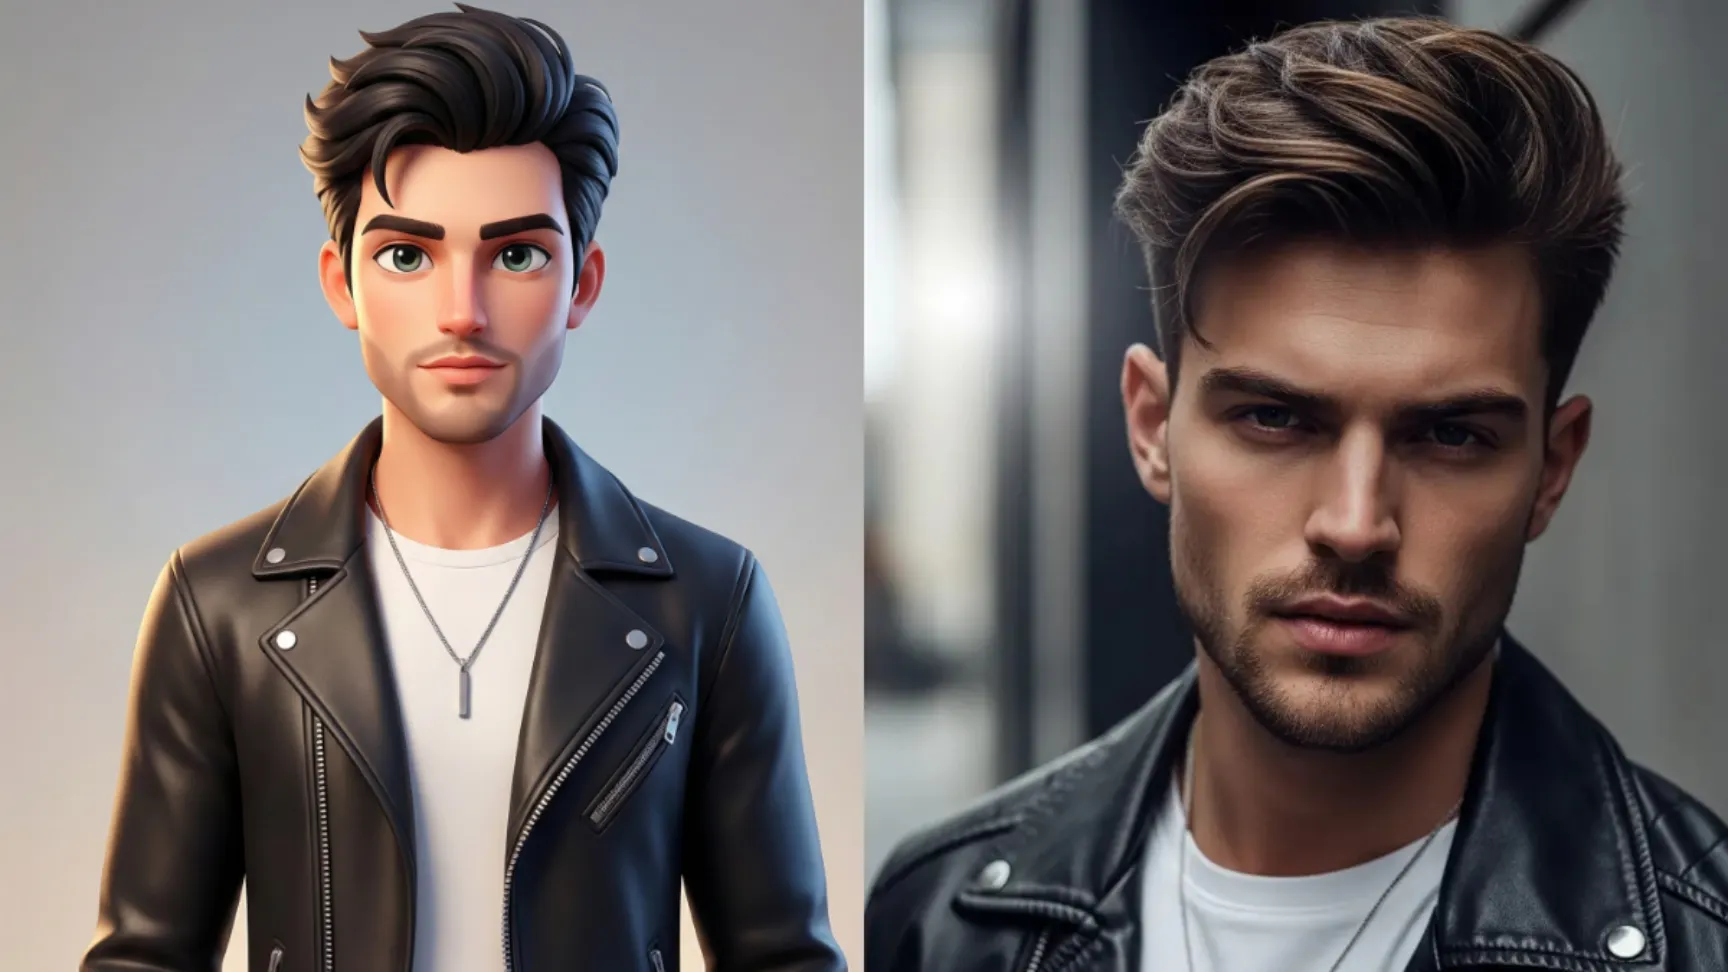
I also tried it with a photo of a man.

 How to Create Beautiful 3D Cartoons Using Gemini Nano Banana
And following is the result.

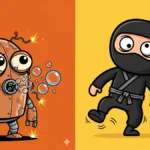 How to Create Quirky Cartoon Characters Using Gemini
Same deal. The cartoon version maintained his features, his beard, his style. The difference was night and day compared to the original photo. It had that animated quality where it looks like something from a movie or show, not some rushed AI experiment.
Here’s a rewritten version:
Understanding Prompt Components
Let me deconstruct each element of the prompt, as understanding these components enables effective customization.
“Create a 3D cartoon version of the person in the photo with soft lighting and clean edges.” Establishes the core objective: stylized 3D cartoon rendering, not photorealism. Soft lighting and clean edges prevent harsh or messy results.
“Keep the facial features accurate.” Critical instruction that prevents excessive creative interpretation. Ensures the cartoon character maintains recognizable resemblance to the source photograph.
“Add smooth skin textures, and bright eyes.” Smooth textures create polished visual quality rather than rough appearance. Bright eyes inject personality and vitality—these details elevate output quality significantly.
“Use vibrant but balanced colors.” Vibrant colors enhance visual appeal, but unbalanced saturation produces unattractive results. This parameter maintains aesthetic harmony.
“Maintain the same hairstyle, clothing, and overall likeness.” Reinforces recognizability. You’re requesting a cartoon interpretation of a specific individual, not a generic character.
“Show a full body character facing the camera with a natural posture.” Displays the complete figure rather than just facial features. Front-facing angles typically prove most flattering. Natural postures appear more appealing than rigid positioning.
“Give the style a polished animated look with gentle highlights and clean shading.” Defines finishing style. Polished animation aesthetics differ markedly from rough sketch approaches. Gentle highlights and clean shading distinguish professional from amateur results.
“Use a clean background with soft gradients for a neat finish.” Prevents background elements from competing with the character. Simple, clean backgrounds with subtle gradients maintain professional appearance.
Customization Options
The prompt‘s flexibility is its greatest strength. Once you comprehend its mechanics, modifications become straightforward.
Wardrobe Changes: Add “Change the clothing to a professional business suit.”
Alternative Poses: Try “Have the character sitting down with a relaxed posture instead of standing.”
Background Variations: Specify “Use a sunny outdoor background with trees and sky instead of gradients.”
Style Adjustments: Request “Make it less realistic and more cartoonish” or “Make it more realistic while keeping the cartoon style.”
The prompt structure accommodates experimentation. Test different variations to identify what works best.
Getting Started
The process requires no technical expertise or expensive software—just a photograph and a free Google account.
Try it yourself. Upload an image, input the prompt, and evaluate the results. If the initial output doesn’t meet expectations, refine and regenerate. At best, you’ll obtain an impressive cartoon version worth sharing widely.
This represents one of those AI tools that delivers genuine utility rather than novelty appeal. Worth exploring.